How to Get Started with SelfServe on Shopify

A customer places an order, then notices the apartment number is missing. Another wants to swap a size before fulfillment. A third asks whether they can add a matching accessory. During a quiet week, those requests are manageable. During a peak promotion, they create a queue of repetitive tickets that distracts support from complex problems and delays customers who need real help.
The practical question isn't whether shoppers need post-purchase control. They already do. The question is how to get started without opening risky permissions, creating fulfillment conflicts, or launching a workflow you can't measure. For Shopify Plus and high-volume merchants, the answer is to treat self-service as an operational system, not a collection of feature toggles. Start with a narrow edit policy, validate the customer experience, and track completion, escalation, address quality, and revenue from the first order.
Why Post-Purchase Self-Service Matters for Growing Stores
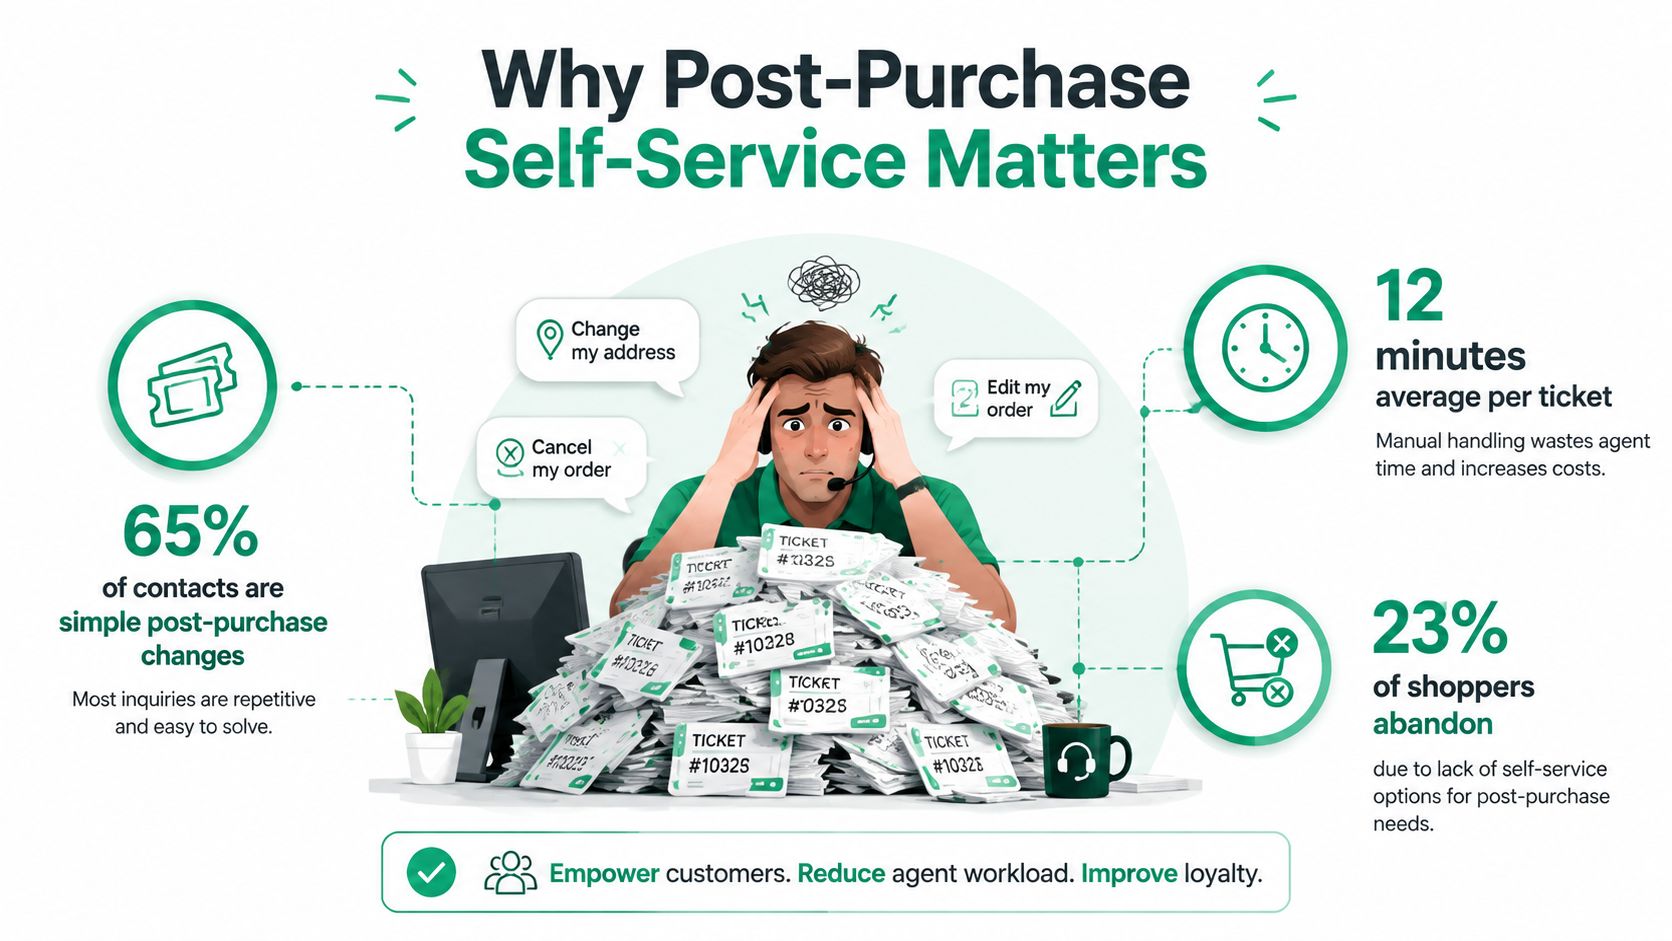
A customer spots a missing apartment number after checkout. Another needs to correct a contact detail before fulfillment. These requests look small, but they consume the same agent time as more complex cases. One 2026 industry summary reports an average of 550 support tickets per agent per month in ecommerce, with Black Friday and Cyber Monday producing a 3–5x increase in volume (ecommerce support statistics). For a growing store, repetitive post-purchase work can become a capacity problem before the team is ready for a broader process redesign.
Each manual change requires the agent to locate the order, confirm eligibility, check inventory or fulfillment status, apply the update, document it, and reply. A customer-facing workflow handles the eligible path and sends exceptions to support. The guidance on improve support with self service supports that operational approach: self-service earns adoption when it resolves a specific customer need, rather than adding another help widget.
Digital shoppers also expect quick control after purchase. Salesforce's 2026 ecommerce statistics page reports that only 5% of organizations can update their digital storefront in minutes, while one-third of U.S. consumers prefer automated or digital purchasing over human interaction. The figures do not justify automating every request. They do support offering a clear self-service route for routine changes, with human review reserved for cases involving judgment or operational risk.
The business case your team can defend
Build the case around metrics your team can track from day one:
- Edit completion rate: the share of eligible requests customers finish without agent help.
- Escalation rate: the share that reaches support because the request is blocked, unclear, or outside policy.
- Address failure rate: the share of address edits that fail validation or require correction.
- Fewer repetitive contacts: eligible edits no longer create avoidable tickets.
- Faster resolution: customers receive an immediate eligibility result and confirmation.
- Better exception handling: agents focus on requests requiring judgment.
- Incremental order value: relevant additions can appear after checkout without interrupting the original purchase.
Start with a baseline for address changes, order edits, cancellations, and post-purchase additions. Assign one owner to compare those contacts with edit completion, escalation, address failure, and any resulting revenue. A practical post-purchase customer self-service framework can help define which requests belong in automation and which should remain with support. SelfServe should be evaluated against those operating results, not against the number of permissions enabled.
Installing SelfServe and Configuring Core Permissions
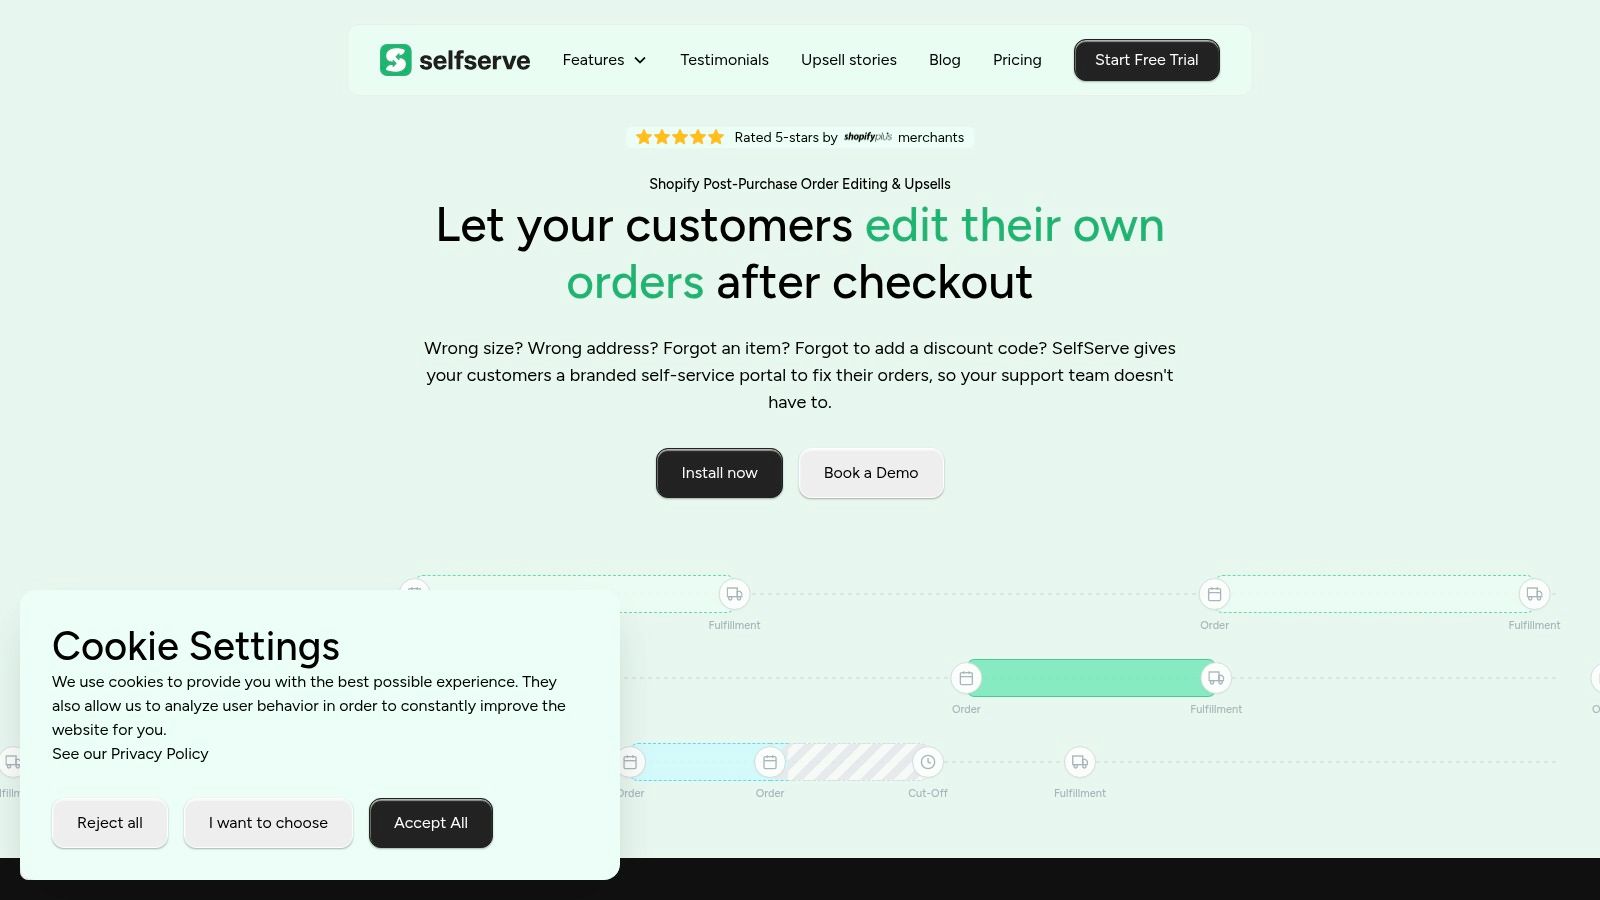
Installation is quick, but the first configuration decisions deserve more attention than the installation itself. SelfServe is available through the Shopify App Store, installs inside the merchant admin, works with most themes, and includes a 30-day free trial according to the publisher's product information. Treat that trial as a controlled operations test, not a reason to enable every permission immediately.
Install first, then narrow the policy
After installing the app, work through the setup in this order:
- Confirm the storefront connection. Check that the app loads within the Shopify environment and that the post-checkout portal or widget appears where customers can find it.
- Define editable fields. Start with shipping address and contact details. Add item-level editing only after checking inventory, discount, tax, and fulfillment behavior.
- Restrict order statuses. Allow changes only while your team can act on them. An order that has entered picking, packing, or carrier handoff may require manual review rather than automatic editing.
- Set product restrictions. Keep limited-stock products, personalized items, bundles, and operationally sensitive SKUs out of broad editing or upsell rules until you understand the consequences.
- Choose the escalation path. Every denied or ambiguous request should have a clear route to support, an internal queue, or an approval flow.
- Test widget placement. A portal hidden in an order email or buried in account navigation won't reduce contacts. Place it where customers naturally look after checkout and order tracking.
The permission model should match your fulfillment reality. A customer changing a typo in a phone number usually carries less operational risk than replacing an item, changing a delivery destination, or adding a product that affects inventory allocation. Document the rule in plain language so support, fulfillment, and customer experience teams interpret it consistently. For a deeper explanation of permission-based access control, focus on the principle that access should follow the action's risk.
Practical rule: Start with the smallest permission set that can remove a meaningful category of repetitive contacts. Expand only after your logs show that the original workflow is stable.
You may also need to align the app's commercial plan with your stack and operating model. If your team is comparing subscription structures across tools, review the Core Monthly subscription details from DesignGuru separately from the SelfServe configuration decision. Keep the operational question first: which capabilities do you need now, and which belong in a later phase?
Setting Edit Windows That Match Shopper Behavior
A customer spots a wrong address minutes after checkout, while the warehouse is already preparing the shipment. Your edit window determines whether that correction stays self-service or becomes a support and fulfillment task. Set it too short, and shoppers miss a low-risk fix. Set it too long, and a 3PL may receive changes after processing has started.
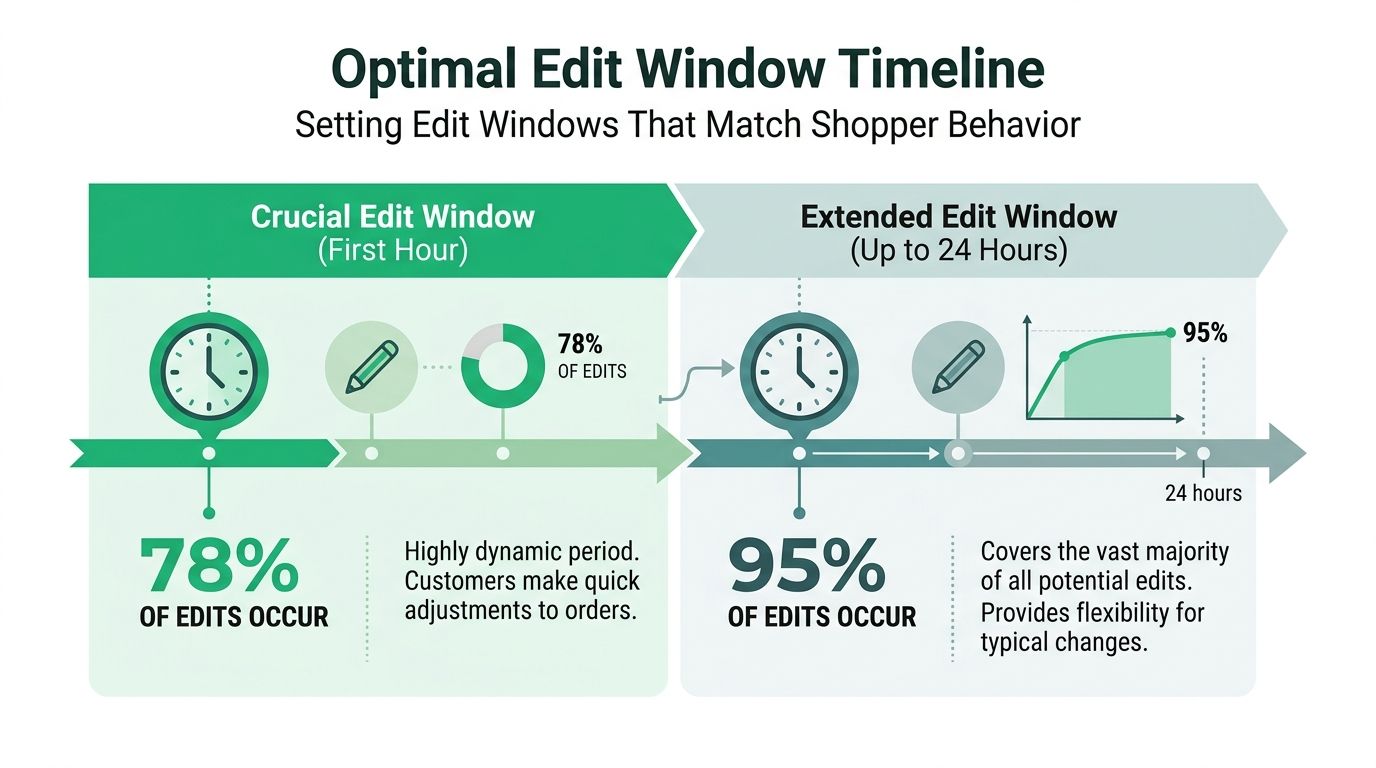
A Shopify dataset covering 7.6 million orders across 1,139 merchants found that 2.1% of orders were edited after checkout. Among those edits, 80.6% happened within one hour, 90.4% within 24 hours, and 92.2% were completed by customers without an agent (Shopify order editing dataset). Use those findings as a starting point, then set the cutoff around your fulfillment SLA and warehouse release schedule.
Choose the window from the warehouse backward
Ask fulfillment: when does an order become expensive or impossible to change? That point should define the default cutoff. Frequent warehouse release batches call for a shorter automatic window. A merchant that holds orders for review can allow edits longer, provided the process is documented and consistently enforced.
Configure three states instead of one blanket rule:
- Automatic window: Customers can change approved fields while the order remains eligible.
- Review window: Requests after the cutoff enter a manual queue for support or fulfillment review.
- Locked state: Orders at an irreversible fulfillment stage cannot be edited through the customer portal.
Support should handle exceptions, not every request. In the same analysis, only 12,584 of 161,213 edited orders were escalated. Track actual workflow performance before routing all edits to an agent.
Start measuring these metrics on launch day:
| Metric | What it tells you |
|---|---|
| Edit completion rate | Whether eligible customers finish without abandoning the task |
| Escalation rate | How often support or approval is required |
| Median edit time | Whether shoppers can complete the change efficiently |
| Edit timing | When customers attempt changes relative to checkout |
| Post-edit fulfillment exceptions | Whether permissions create downstream work |
Review the numbers by edit type where possible. A high completion rate paired with a rising address failure rate points to validation or field design problems, while a high escalation rate may indicate permissions are too narrow or the review path is unclear. The target is a window that preserves useful customer control and gives fulfillment a change it can reliably honor.
Enabling Multilingual Support and Address Validation
A shopper completes checkout in a local language, then opens the order portal and finds English labels, unclear cutoff messages, and an address field that rejects a valid format. That handoff can turn a completed sale into a support ticket or a failed delivery. Treat localization and address quality as operational controls, not simple feature toggles.
Launch languages according to observed demand. Start with non-English markets that already produce meaningful traffic, orders, or support contacts, then compare edit completion and contact behavior by language. Industry reporting says leading ecommerce sites commonly support four or more languages, while localization research summarized in the same report associates non-English localization with conversion gains of 20% to 70%, averaging around 35% (multilingual ecommerce reporting). Use those figures as context, not a forecast. Measure whether each localized flow improves completion and reduces confusion for your customers.

Localize the task, not just the storefront
Review every customer-facing step:
- Order confirmation and status links
- Edit buttons and field labels
- Address validation messages
- Permission and cutoff explanations
- Error states
- Escalation instructions
- Confirmation notifications
SelfServe's widget is described by its publisher as multilingual and able to adapt to the shopper's language. Test real storefront and order-status sessions in each supported market. A translated button followed by English-only validation or support instructions still creates friction.
Set an address-quality baseline before expanding international editing. USPS data reported in 2026 says about 6.5% of all mail is undeliverable as addressed (ecommerce address validation analysis). Address errors affect reshipment risk, support workload, delivery experience, and margin, so track the address validation pass rate, rejected submissions, and manual corrections from launch day.
Use real-time validation powered by Google Maps with autocomplete enabled. Test countries with different postal conventions, apartment structures, province names, and address ordering. Review the address failure rate by country and language, then inspect failed examples before changing rules. A high edit completion rate paired with a rising address failure rate usually points to field design or validation logic, not shopper intent.
A practical guide to real-time address validation can help your operations team define validation rules before enabling international editing broadly. Keep the escalation path visible when a valid address cannot be confirmed, and record whether the issue was resolved by the shopper, support, or fulfillment.
Here's a short demonstration of the customer-facing experience:
Building Upsells on Thank You and Order Status Pages
Post-purchase editing protects efficiency. Upselling gives the same workflow a commercial role, but only when the offer fits the order and doesn't create fulfillment noise.
The Thank You page is useful immediately after purchase, when the customer has just confirmed the original decision. The Order Status page remains useful later, when the shopper returns to check delivery information or make an eligible change. These pages should support the order first. A crowded offer module that obscures status information can increase confusion and generate the contacts you're trying to avoid.
Choose products that belong with the original order
Start with products that require little explanation and create limited operational risk:
- Accessories: A case, replacement component, or care product that naturally complements the purchased item.
- Consumables: Refills or repeat-use products that fit the customer's existing selection.
- Low-complexity additions: Items that don't require personalization, special routing, or complicated warehouse handling.
- Collection-based options: A small, curated set rather than an uncontrolled catalog feed.
Use product-level restrictions aggressively. Exclude scarce inventory, made-to-order items, bundles with strict component logic, and products that create separate shipping or tax complications. If an addition changes how your warehouse allocates inventory, it shouldn't be an automatic offer until fulfillment has approved the flow.
The commercial metric is upsell conversion, but don't read it in isolation. Pair it with incremental order value, cancellation or adjustment activity, fulfillment exceptions, and support contacts. A product can attract additions while still creating more work than the revenue justifies.
Protect the original order flow
Configure Thank You page offers to be visually secondary to confirmation details. On the Order Status page, keep tracking and edit access prominent, then place relevant offers around those functions. Test one offer logic at a time so your team can identify whether product choice, placement, or timing affects behavior.
Automated order tagging can help fulfillment identify orders that received post-purchase additions. Agree on the tag vocabulary before launch, and make sure the warehouse, ERP, and 3PL teams know what each tag means. Higher-tier SelfServe plans include custom upsell flows and 3PL or ERP integrations according to the publisher's product information. Those capabilities become relevant when a simple offer needs to coordinate with inventory, routing, or downstream systems.
The strongest setup is deliberately restrained. Customers should feel that the store remembered what they bought, not that the merchant is trying to restart the entire sale after checkout.
Testing Workflows and Measuring What Matters
A post-purchase workflow isn't ready because the app loads. It's ready when a customer can complete the intended action, the order reflects the change correctly, and an exception reaches the right person without ambiguity.
Run the launch test with a real order in a controlled environment or with a carefully selected internal purchase. Verify the customer view, Shopify admin record, notification behavior, inventory effect, and fulfillment handoff for every approved action.
The five tests that matter first
- Address edit: Enter a valid correction, an incomplete address, and an address format used by one of your key markets. Confirm validation, saving, and customer confirmation.
- Contact detail update: Change the approved email or phone field and verify where the updated value appears in customer and fulfillment records.
- Upsell addition: Add a permitted product from the Thank You or Order Status page. Check inventory, order totals, tags, notifications, and warehouse visibility.
- Multilingual rendering: Open the widget in each launch language and inspect labels, error messages, address prompts, and escalation instructions.
- Support escalation: Trigger a restricted or late request. Confirm that it enters the manual cancellation or approval queue with enough context for an agent to act.
Track edit completion rate, escalation rate, median edit time, address validation pass rate, and upsell conversion from the first live cohort. Use the earlier dataset as a directional baseline for timing and customer-led completion, but don't treat its results as a promise for your store. Your baseline should also include the current volume of relevant support contacts and the number of fulfillment exceptions created by manual changes.
Use a clear go or no-go decision
Go live when approved edits save correctly, restricted actions escalate, localized flows are understandable, address validation behaves correctly across priority markets, and fulfillment can identify post-purchase additions. Hold the launch if any approved action produces inconsistent order records, if support can't see why a request was escalated, or if warehouse staff can't distinguish an edited order from an unchanged one.
After launch, review the dashboard with support and fulfillment together. Keep permissions stable while you establish a baseline, then change one control at a time. This approach turns how to get started from an installation task into a managed operating cycle, with every permission connected to a customer outcome or a measurable cost.
SelfServe gives Shopify merchants a configurable post-purchase portal for customer edits, multilingual order experiences, real-time address validation, and curated upsells on Thank You and Order Status pages. If you're ready to replace repetitive tickets with a measured workflow, visit SelfServe, install it on your store, and use the trial to validate completion, escalation, address quality, and upsell behavior before expanding permissions.